Typically, the onchange event attribute is attached to an element to call or execute a JavaScript function. You can however, use the attribute inside your JavaScript code. Let us see some examples.
1) Using onchange Attribute with the Element
In the first example, I’ll attach the onchange attribute to an <input> box of type text. Whenever, someone enters a value in the input box and lose focus from the box, it will call a JavaScript function.
<html>
<head>
    <title>Capture value change in input elements using onchange Attribute</title>
</head>
<body>
    <div>
        <p>Enter your name in the box and click anywhere on the page or just leave the box.
            It will trigger the onchange event.</p>

        Enter your name:
            <input type="text" id="name" value="" onchange="myName(this.value)" />
    </div>
</body>
<script>
    function myName(val) {
        alert('Hello ' + val);
    }
</script>
</html>2) Using onchange Attribute inside JavaScript
In my first example above, I have attached the onchange attribute on the element itself to capture the changes. Now, I’ll show you how you can use the onchange attribute inside your JavaScript code.
<html>
<body>
    <div>
	<p>Enter your name (or any text) and click anywhere on the page or simply
        leave the box, it will trigger the onchange event inside your JavaScript code.</p>

        Enter your name: <input type="text" id="yourName" value="" />
    </div>
</body>
<script>
    document.getElementById('yourName').onchange = function () {
        alert('Hello ' + this.value);
    }
</script>
</html>3) Using onchange inside JavaScript to capture multiple input value changes
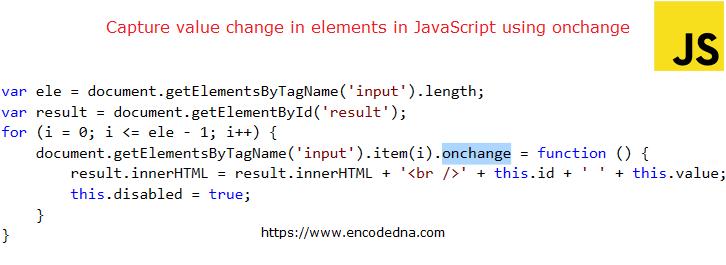
You can use the onchange event attribute to capture multiple value changes from inside your JavaScript code. This is useful when you have multiple input boxes and you do not want to attach the attribute to each box (or element).
<html>
<head>
    <title>Capture multiple value change in JavaScript</title>
</head>
<body>
    <div>
        <p>Enter your name and age and click anywhere on the page or simply
            leave the boxes, it will trigger the onchange event inside your JavaScript code.</p>

        <p><input type="text" id="name" placeholder="Enter your name" /></p>
        <p><input type="text" id="age" placeholder="Enter your age" /></p>
        <p id="result"></p>
    </div>
</body>
<script>
    var ele = document.getElementsByTagName('input').length;
    var result = document.getElementById('result');

    for (i = 0; i <= ele - 1; i++) {
        document.getElementsByTagName('input').item(i).onchange = function () {
            result.innerHTML = result.innerHTML + '<br />' + this.id + ' ' + this.value;
            this.disabled = true;
        }
    }
</script>
</html>4) Get selected <select> value on Change using JavaScript
Finally, I’ll show you how you can use the onchange event attribute to get the selected value from a <select> dropdown list from your JavaScript code.
<html>
<head>
    <title>Get select dropdown list value on change using JavaScript</title>
</head>
<body>
    <div>
        <p>Select a value from the dropdown list,
            which will trigger the onchange event inside your JavaScript code.</p>

        <select id="sel">
            <option>-Select a Value-</option>
            <option value="red">Red</option>
            <option value="orange">Orange</option>
            <option value="yellow">Yellow</option>
        </select>

        <p id="pColor" style="width:100px;height:100px;"></p>
    </div>
</body>
<script>
    document.getElementById('sel').onchange = function () {
        // Change background color of <p> element using the selected value.
        document.getElementById('pColor').style.backgroundColor = this.value;
    }
</script>
</html>Well, that’s it. Hope you find the above examples useful. Although you can also capture changes in any element using jQuery, but nothing beats plain simple JavaScript methods.
